In this article, I am going to quickly walk you through the process of assembling a relatively basic computer system.
Here’s a quick checklist of what to remember when purchasing computer parts:
– How many watts does your power supply (PSU) need to have as a minimum? Use a Power Supply Calculator.
– When choosing a case, make sure it isn’t too small for your configuration. For example, if you’re building a system with 2x GTX285’s in SLI and five hard drives, you might want to avoid a mid-size tower and go for a full otherwise you’ll be really cramped in there with hardly any room to work and risk the likely possibility of overheating your system.
– Your motherboard — AMD or Intel based?
– Before purchasing the motherboard, check to make sure it has enough SATA ports, USB motherboard headers, and see if it supports onboard RAID and any other features you might need.
– Your CPU must match the socket type of the motherboard.
– Speaking of CPUs, make sure you have a heatsink of some sort.
– Your memory (RAM) speed and type must be supported by the mother board. If you plan to overclock, make sure the motherboard can handle it.
– Use NewEgg so you don’t get ripped off.
Building a computer isn’t necessarily difficult, but it does involve a lot of things to remember and there is really nobody to blame if something goes wrong because it’s up to you to determine what component failed and to replace it. Also, Always wear electrostatic protection when touching electronic components or at the very least ground yourself by touching some exposed metal such as the power supply.
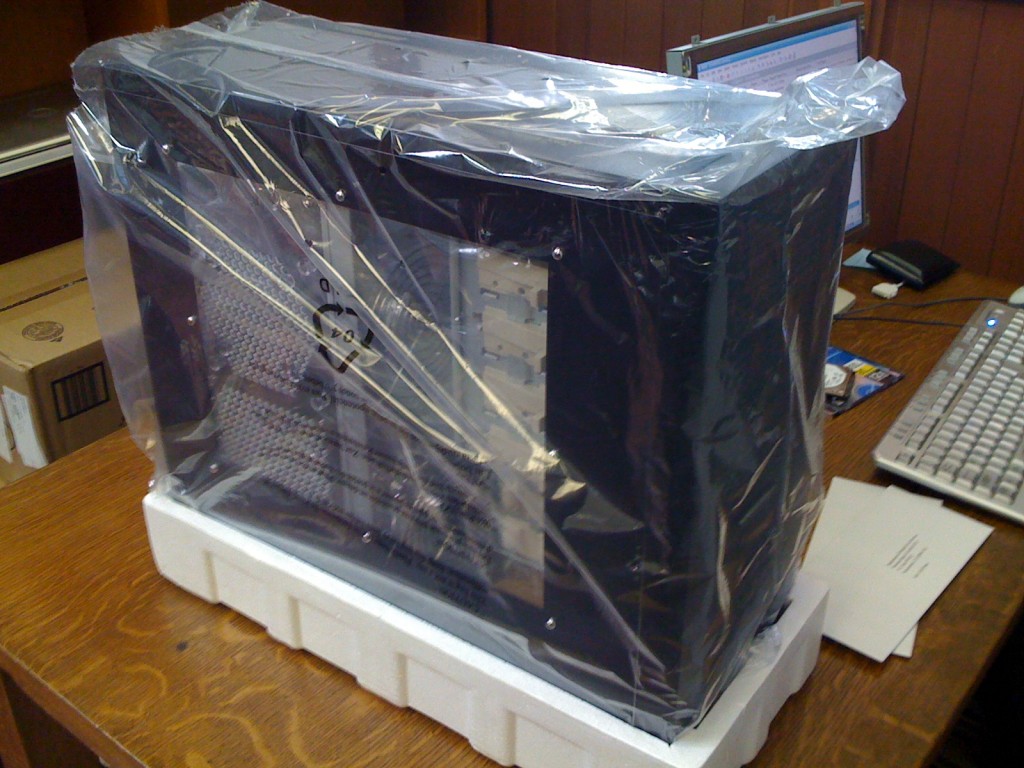
Now, let’s get started. First, let’s have a look at your case. When you get your case, it should come with a box including a variety of screws, proprietary connectors and sliders (if applicable), and most importantly, motherboard mounts.
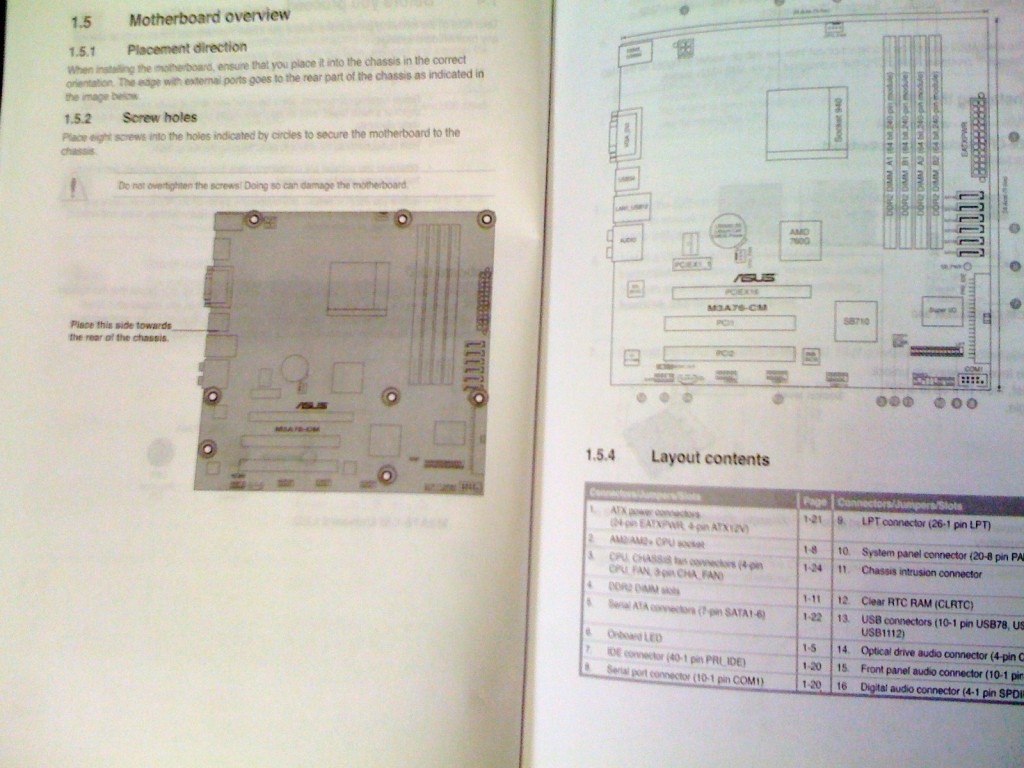
The motherboard mounts are incredibly important and a real pain to fix if you mess them up, so pay attention and don’t mess this up. Open the side panel of the case and lay the motherboard down so you can see all of the holes. Unwrap your motherboard and look closely where the screw holes are (or review the manual if you’d prefer). You’ll see there are usually between 6 and 8 screw holes.
There are essentially two different types of motherboard mounts, metal (brass coating) and plastic. I strongly suggest the metal ones and to avoid cases that come with the plastic ones. This is mostly personal preference, I believe that the plastic ones just won’t hold up.
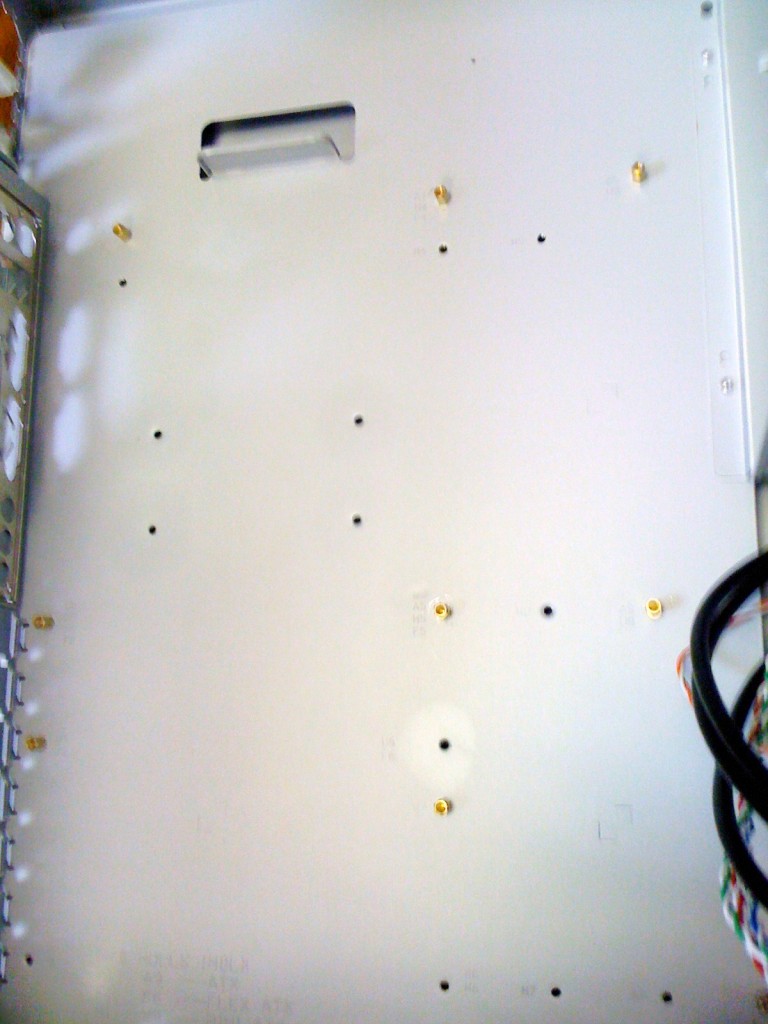
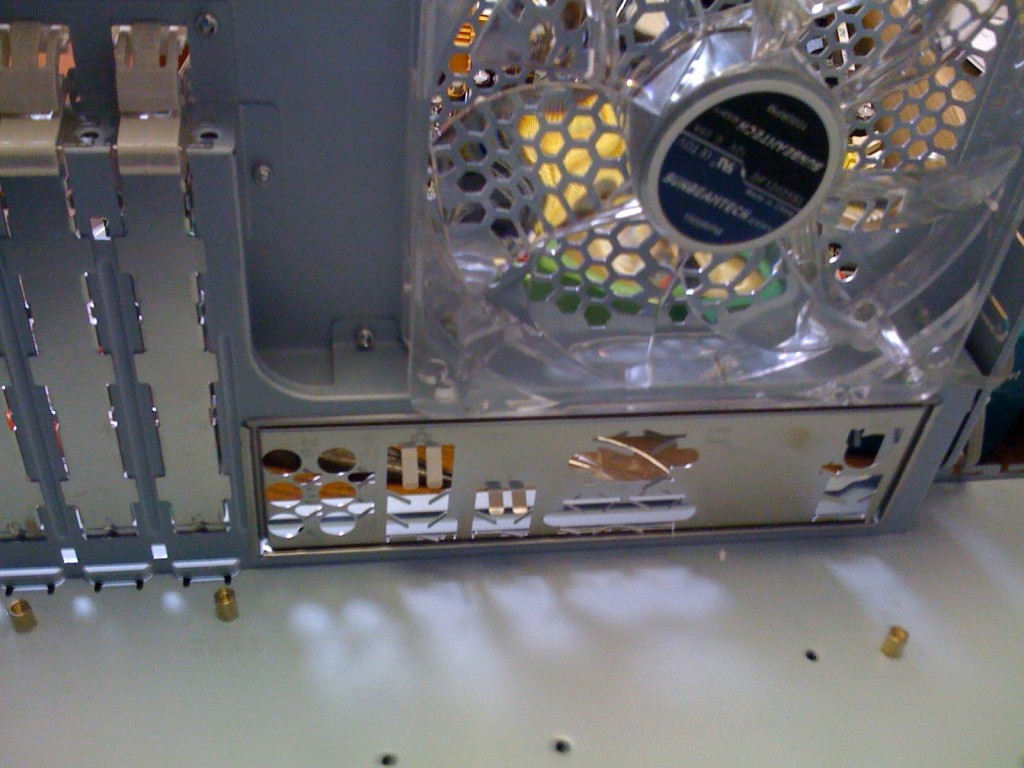
Once you have screwed in your motherboard mounts into your case, it should look something like this:
I also suggest that you tighten them with pliers just enough to ensure that they won’t loosen up after a number of years. Remember that even the slightest motherboard grounding issue can cause a tremendous amount of unexplainable and likely intermittent problems in the future. Grounding issues can cause the computer to seemingly randomly shut off, have video card malfunctions, BSODs (bluescreen “stop” errors) and the like, so this is a critical time to double and triple check your work. Make sure nothing is loose!
Install the I/O panel shield that comes with the motherboard. If your case came with one, do not use it if the motherboard already comes with one.
Look carefully over the motherboard to ensure that you’ve screwed in every screw tight, but not too tight as to strip the screws.
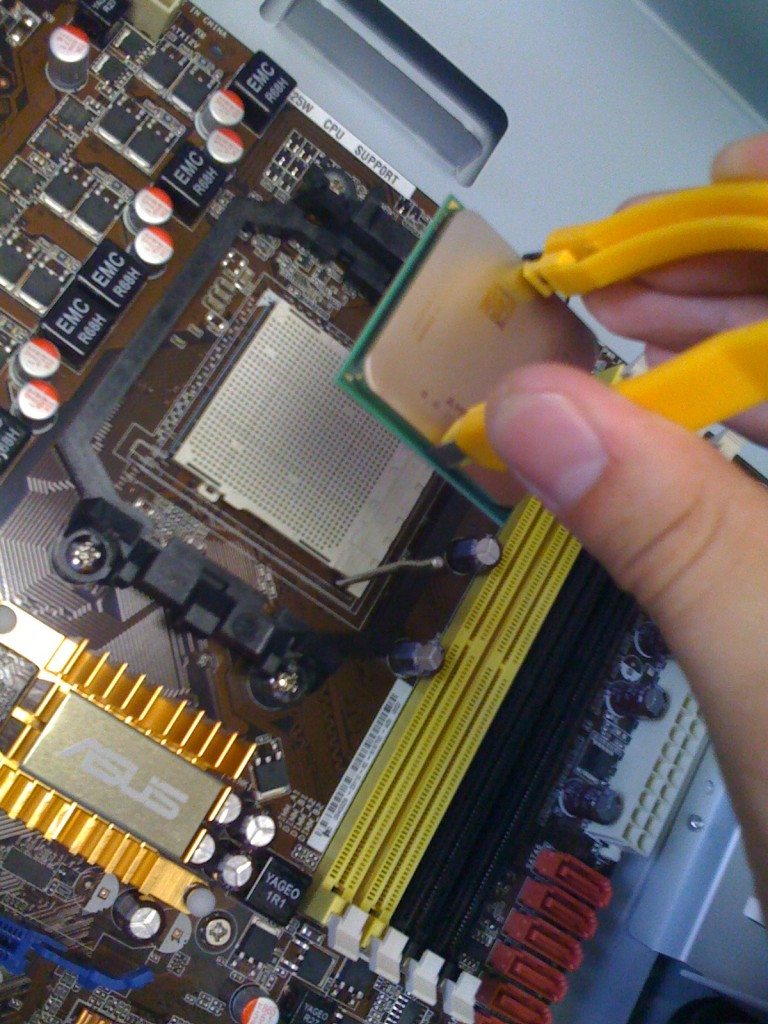
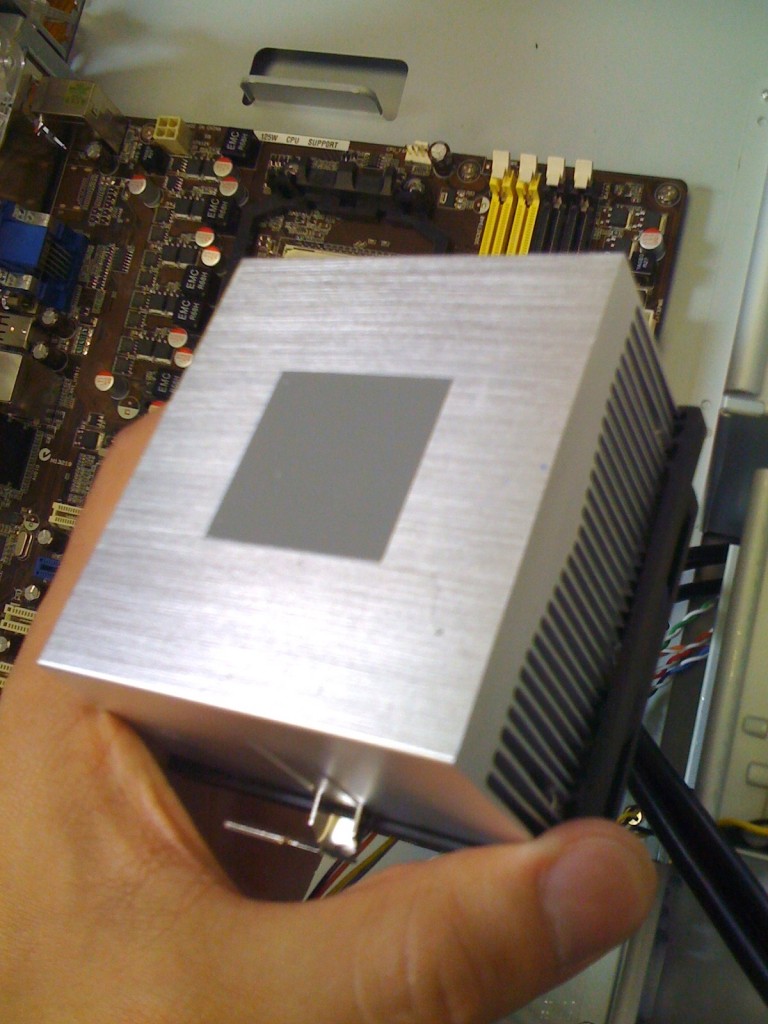
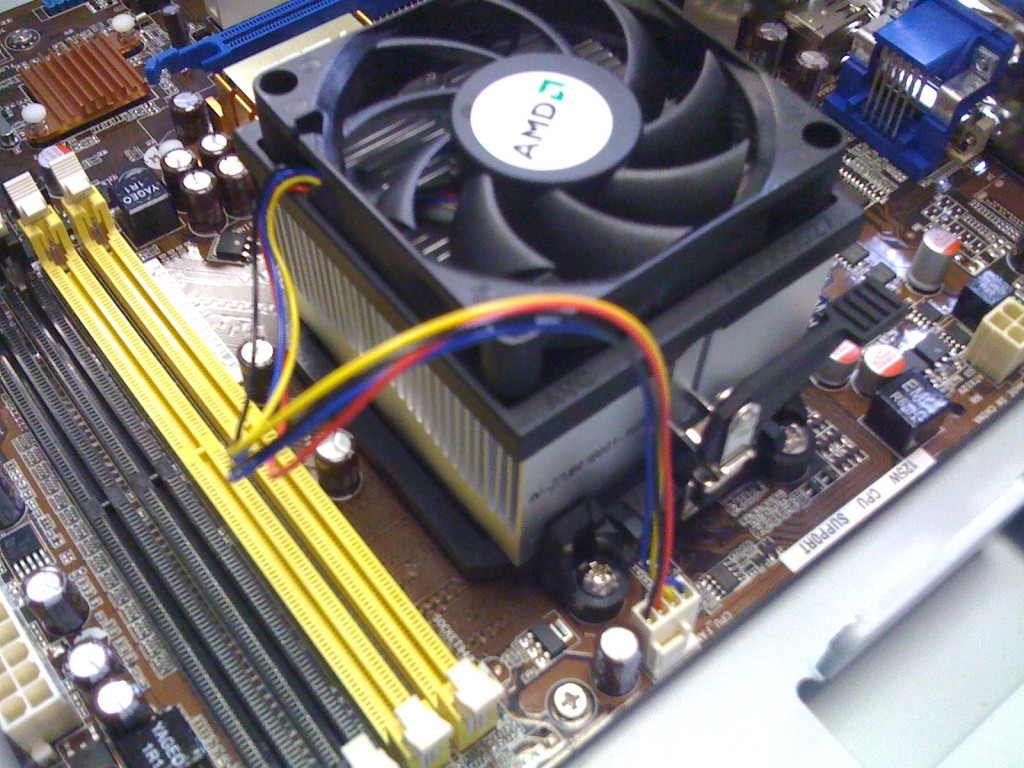
Now to install your processor. This particular processor came with a stock heatsink. You may want to use your own custom heatsink if you plan to overclock or just to reduce temperatures further. Do not touch the processor on the top or bottom. Your fingers contain oils which will disrupt the integrity of the thermal grease necessary to dissipate heat. If you are adding your own heatsink you will need to apply thermal paste; since this system I assembled here already came with a stock heatsink, the thermal grease is pre-applied to the heatsink.
Different CPUs have different ways of being installed. These AMD CPUs have a “gold triangle” corner which you line up to the CPU socket which makes it easy to identify which way to line up the CPU. Be sure to read the manual for your CPU prior to installation and do not drop the CPU!
Install the heatsink carefully. Don’t let it slide around. It’s best if you can avoid lifting up the heatsink after initially placing it. Lifting it up causes the possibility of “bubbles” in the thermal paste which can also adversely affect the performance of the heat dissipation. So, to avoid this risk, read the manual on your heatsink and understand it prior to placing it on the CPU. Don’t rush it, it will only take a minute.
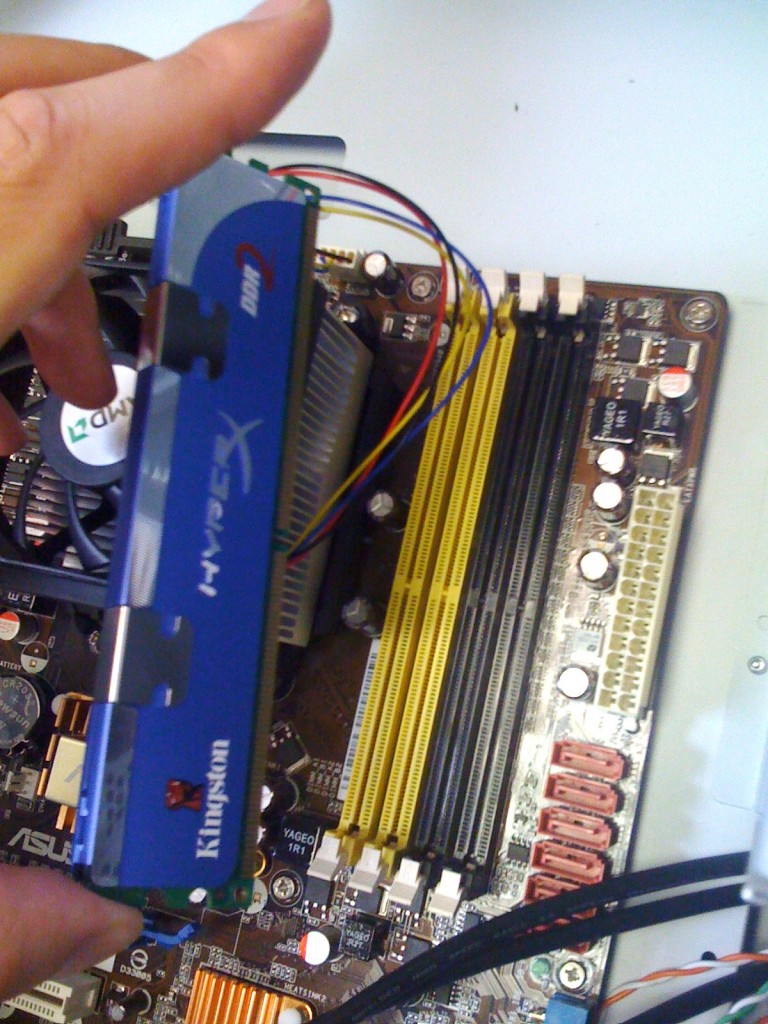
Most motherboards have a preferred order they want the RAM (Random Access Memory) sticks installed. Check the motherboard manual to see where to place your RAM sticks. Obviously, if you have four sticks then it doesn’t matter. But in this case, I had a 1x2GB stick and had to be sure to place it in the correct slot.
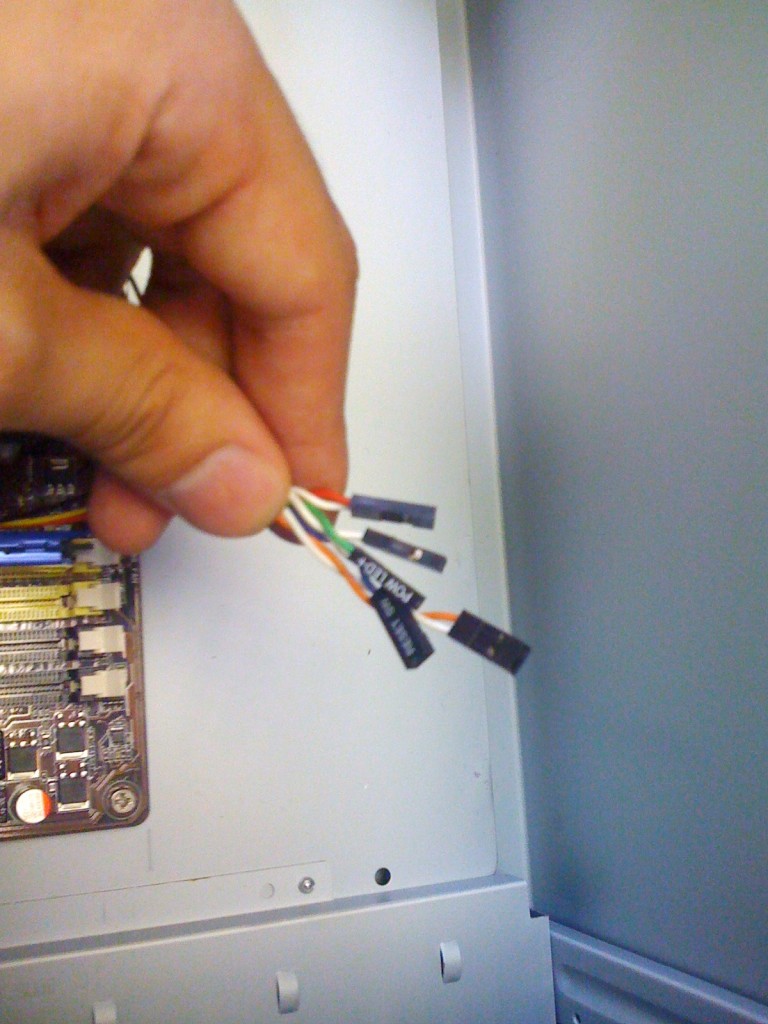
Every computer case comes with front panel I/O headers. These little wires plug into your motherboard (usually the lower right corner) and tell the computer which button is responsible for turning it on/off, reset as well as which lights are to be used for flashing the HDD activity LED and power LED. In addition, there is usually a connector for the “PC speaker” which will give a single POST (Power On Self Test) beep if the system is OK when starting, or Morse-code style beeps if something is wrong, such as a video card failure. For that reason, I recommend making sure that your motherboard actually has a PC speaker built in, or if not, be sure to plug one in and stick it on the corner of the case somewhere, away from your hard drives.
The front panel I/O headers are one of the most aggravating aspects of assembling a computer for me. They require you to look at the tiny print that tells you which pins are for which function and it is never really clear which wire is the “ground.” The white wire is ground, and the colored wire is the positive connector. Start by plugging in the bottom row first, then do the top row to avoid having to look under your previous wire. It’s much easier. Moreover, leave yourself room and work carefully around these I/O headers after you’ve plugged them in because it’s easy to hit a snag and unplug all of them by mistake and it’s a real pain to start over.
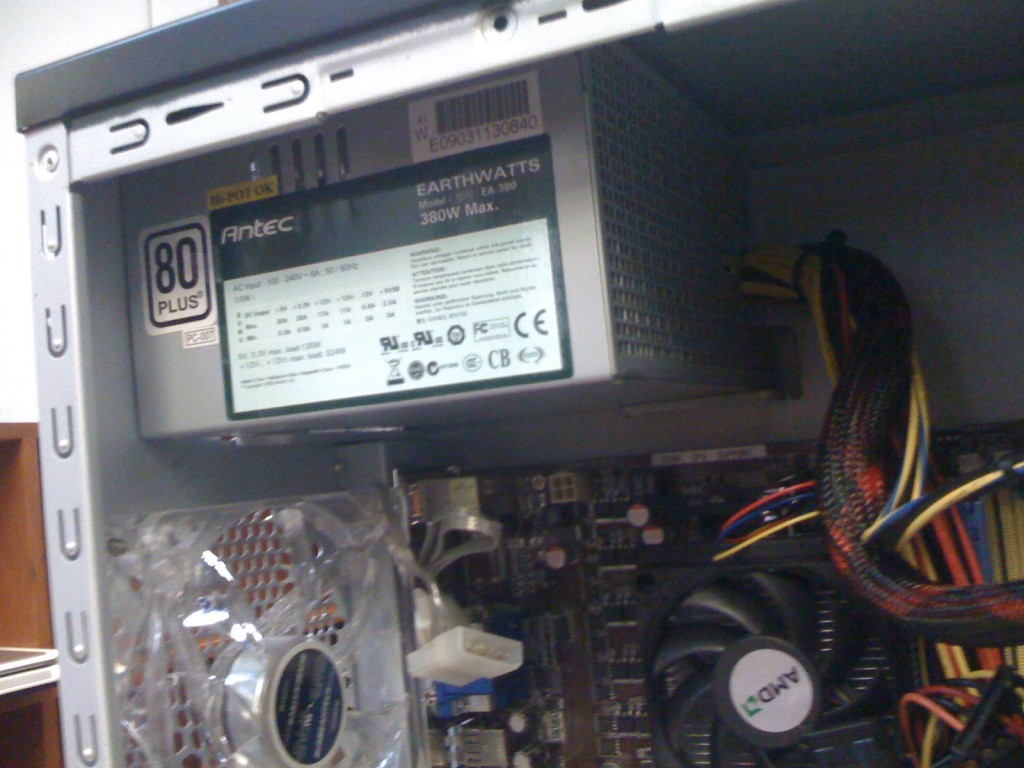
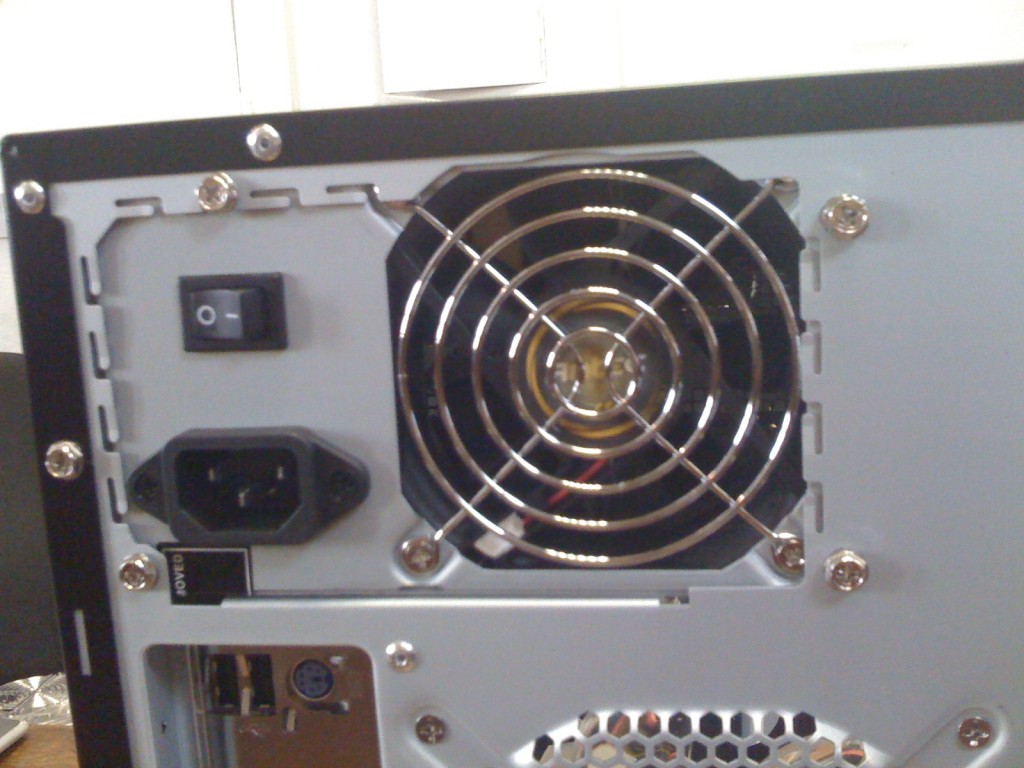
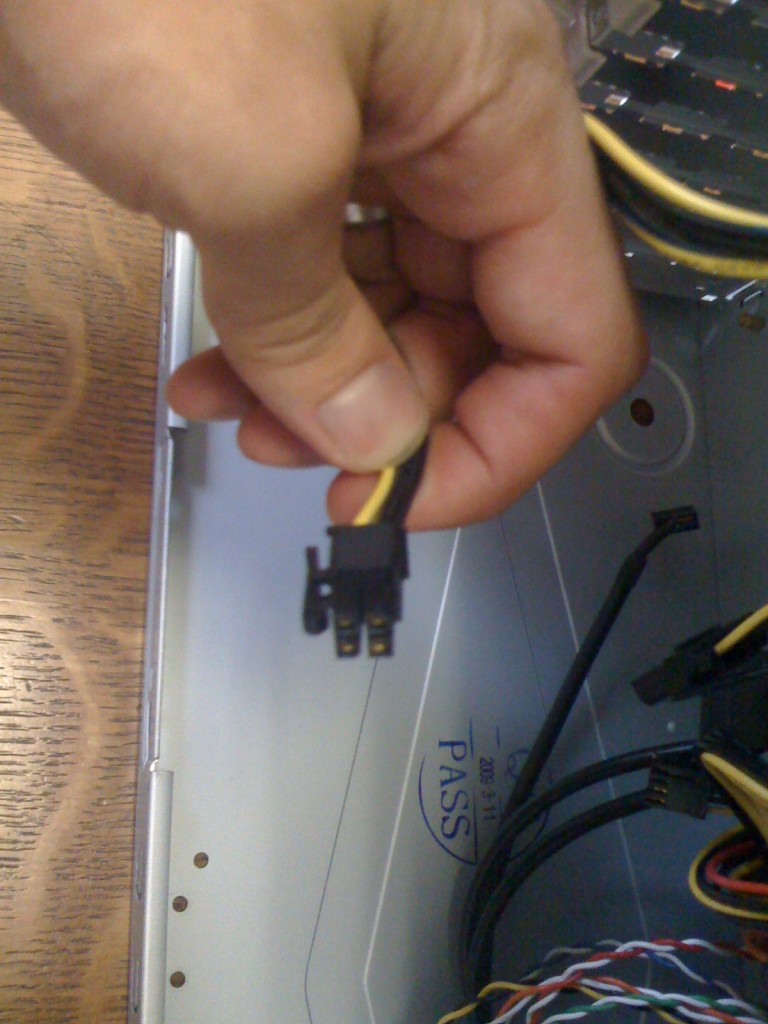
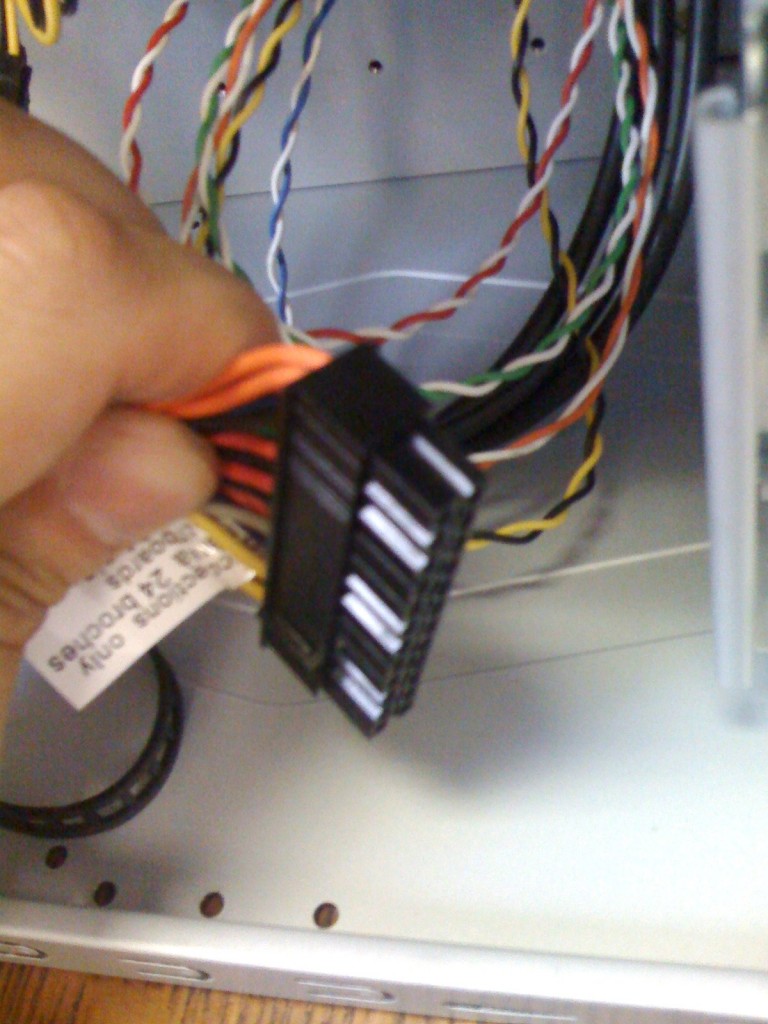
Install the power supply. Different cases have different mounts for power supplies but no matter where it’s supposed to go there’s always a slot in the rear of the case that will accomodate the back end of the PSU. There are two cables that are generally the most important; the first being the CPU power (12v cable, 2 black and 2 yellow) and the second is the main motherboard power cable (big thick connector) which must be plugged in or else the computer won’t start at all — so don’t forget ’em.
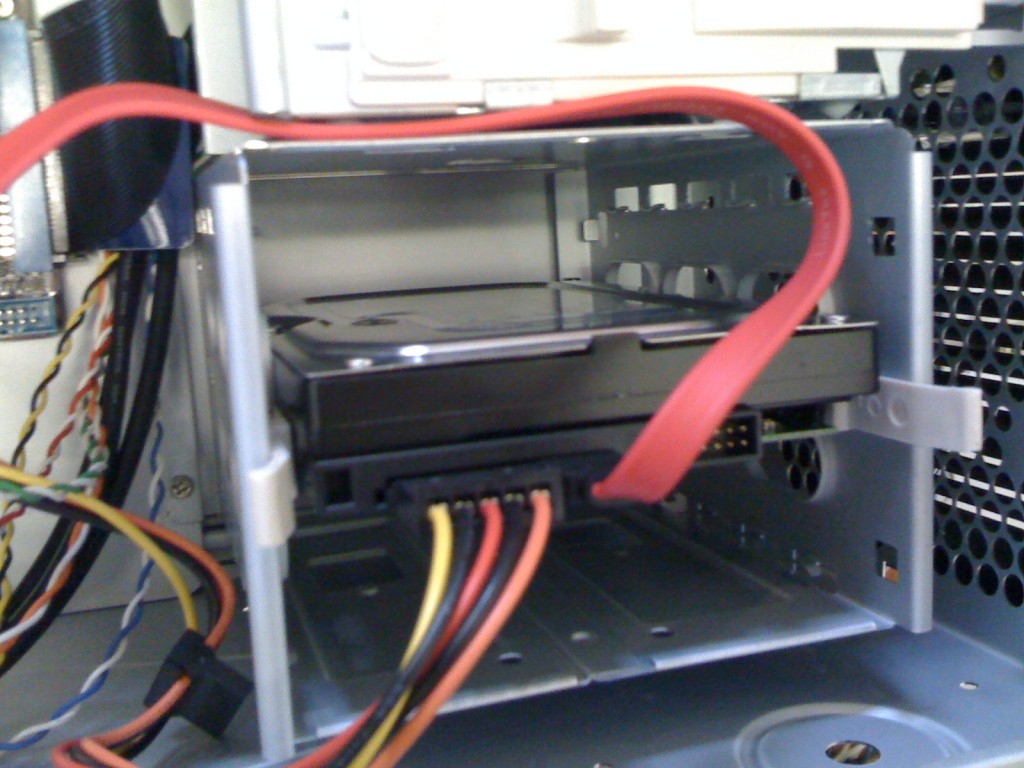
So, now you can begin plugging in your CD/DVD/BR drive. Then your HDDs which will likely be SATA. Note the fragile front I/O cables below.
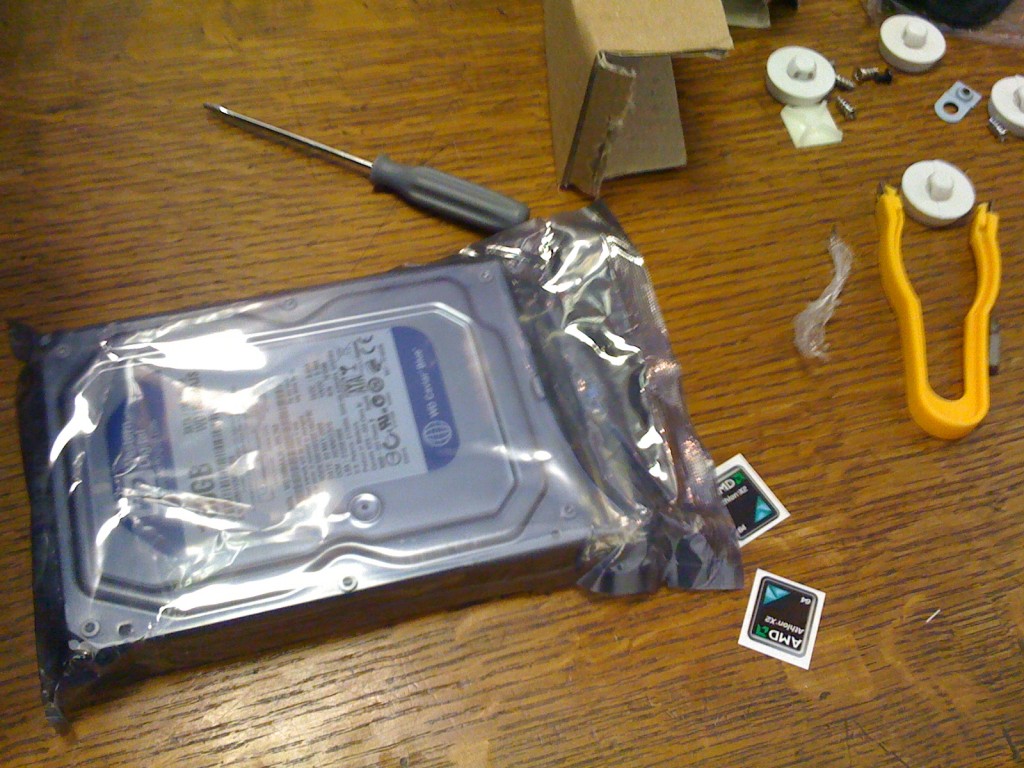
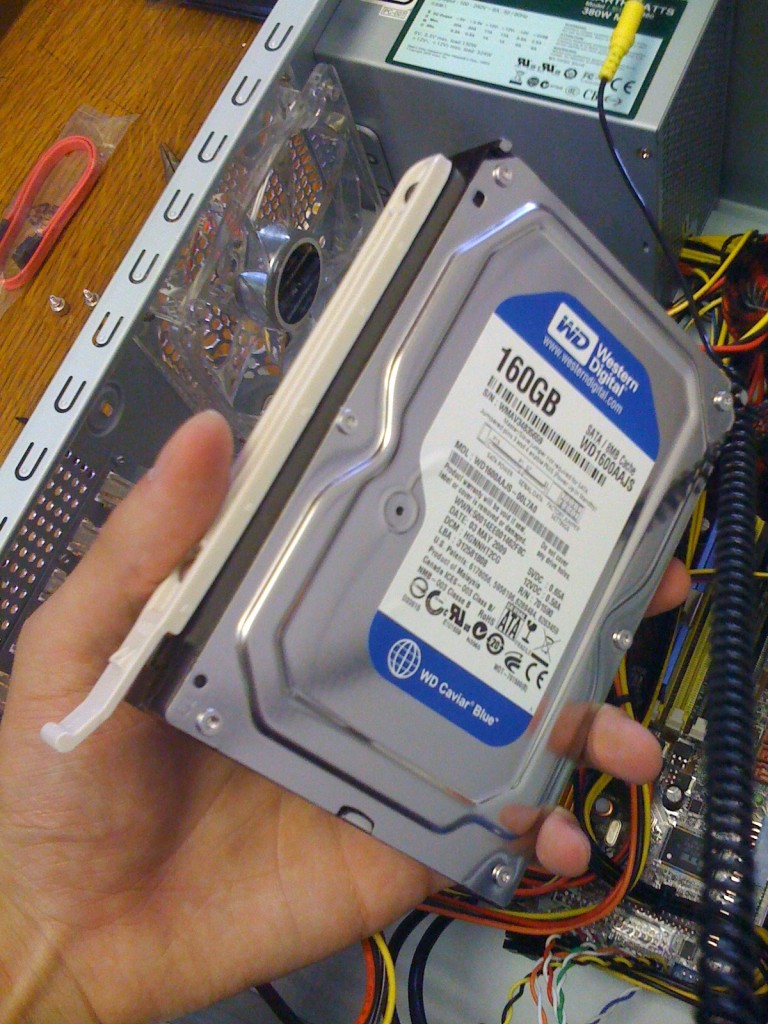
OEM hard drives are swell. They usually cost a bit less than a retail boxed drive and are perfectly fine. Sometimes, however, they don’t come with any screws so it would be wise for you to always have extra standard octagonal screws for just such an occasion.
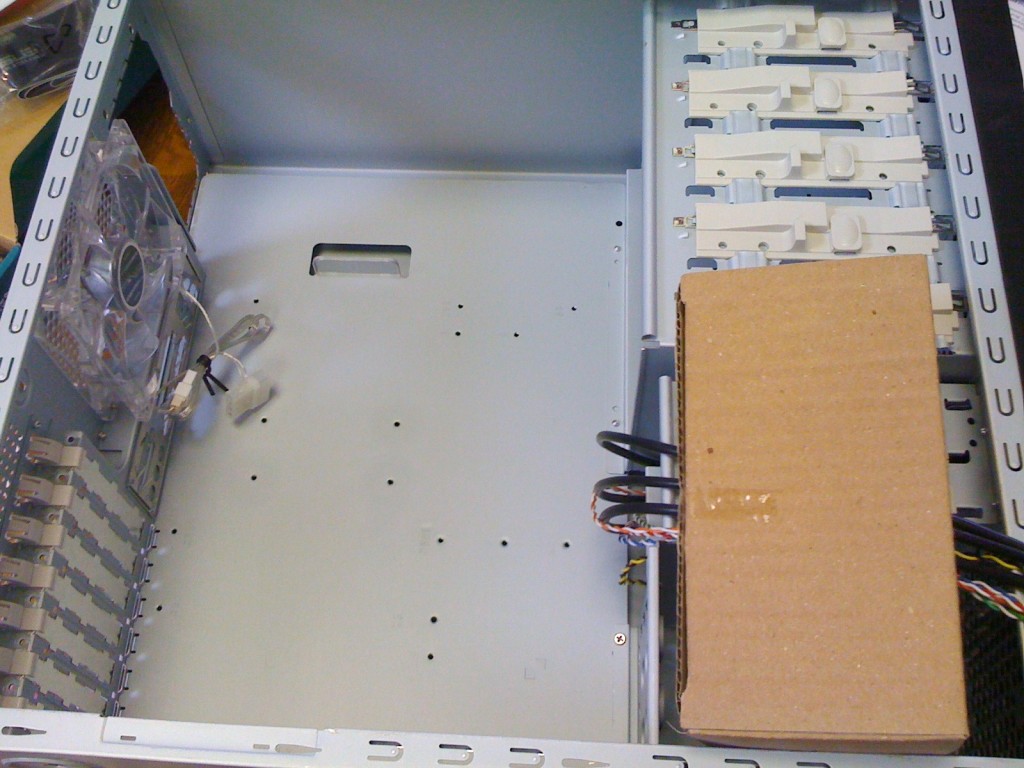
Most computer cases these days are “tool-less” and require you to screw in little sliding thingies to make it easy to swap hard drives and CD/DVD/BR drives. Call me oldschool, but I still prefer using just regular screws. Anyway, the slider thingies come with your case and look like this:
These days, molex connectors on hard drives have been replaced with SATA power, which should come with your power supply. If not, use an adaptor… or get a different PSU. Another note, be sure not to plug your drive into the wrong SATA bank. Some motherboards have SATA sockets reserved for RAID — plugging them into the wrong SATA bank may prevent the OS or BIOS from detecting the drive properly.
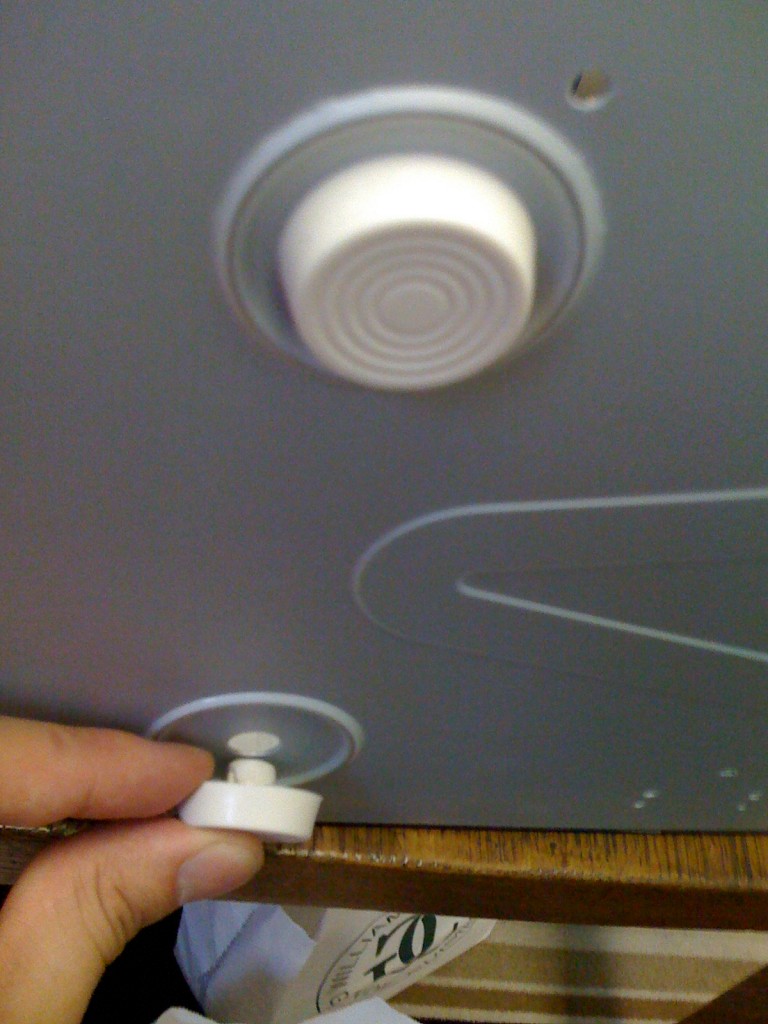
Now it’s time for the finishing touches. Install any case stands that may have come with your case.
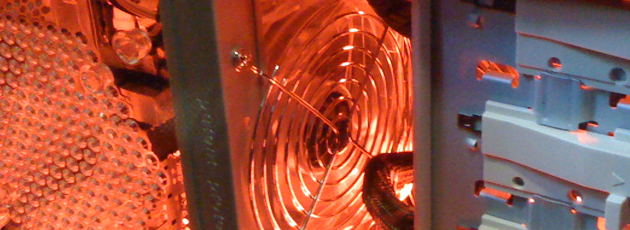
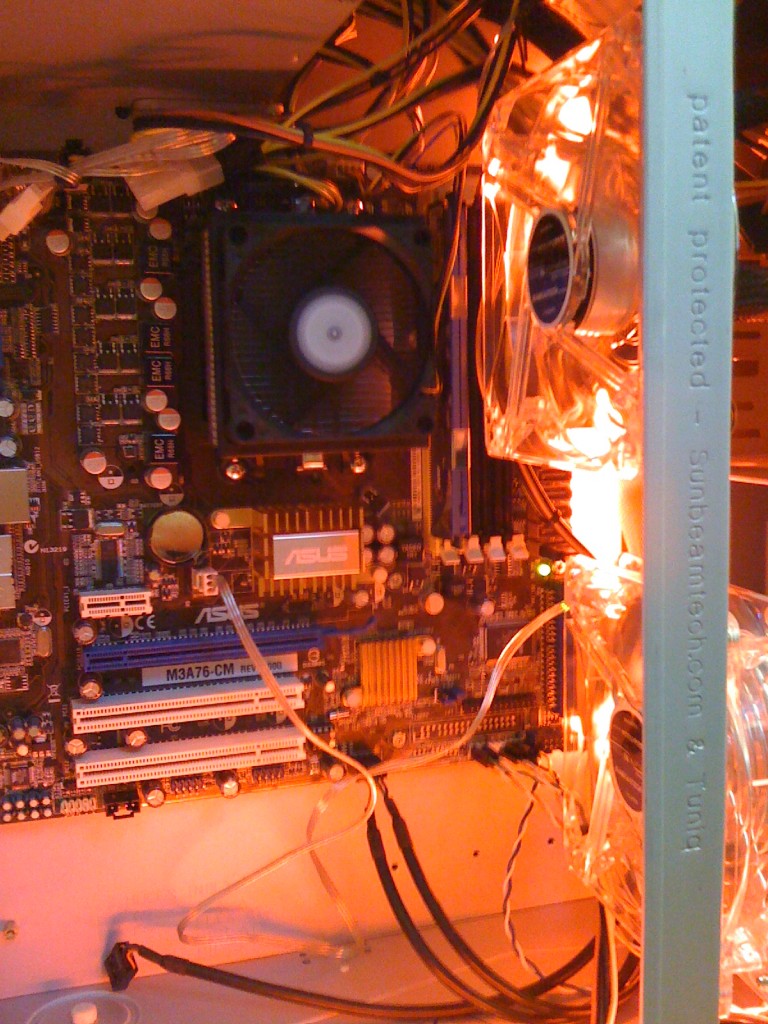
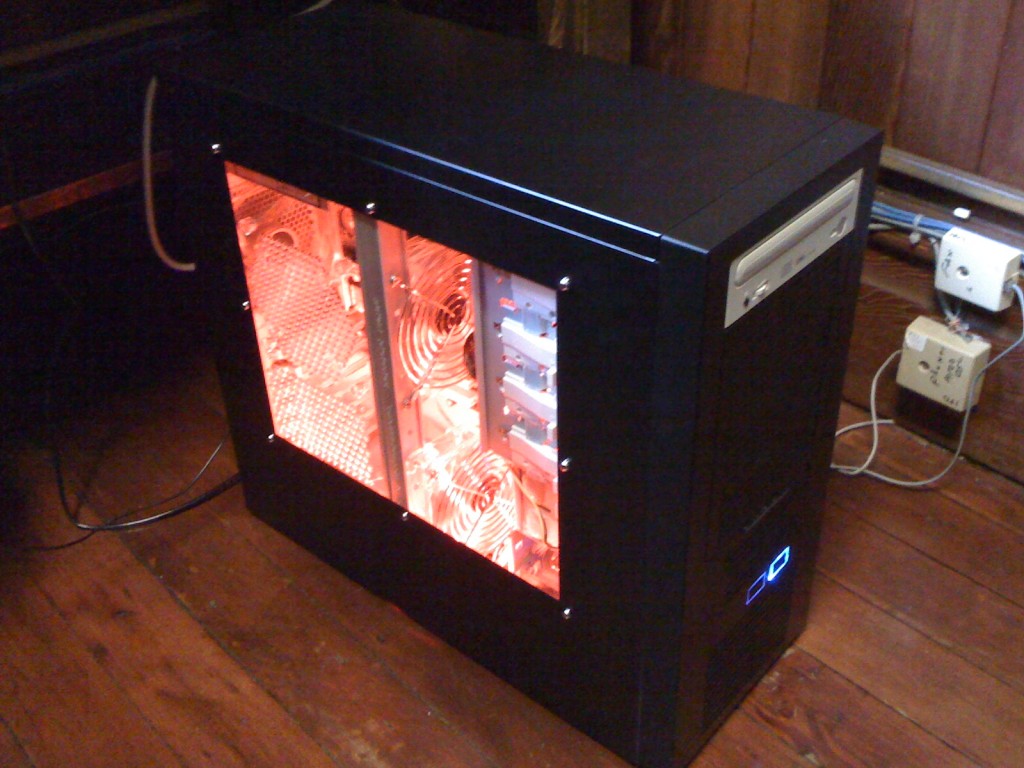
For my systems, cold cathode lights are a must — so I always install them:
You’ll note that this particular system doesn’t have a separate video card. That’s because it is primarily for office use — no games. So, a video card would be overkill for such a system. It runs Vista Ultimate x64 and it’s lightning quick for just about everything; but no, I haven’t tried to run Crysis on it if that’s what you’re thinking. =)
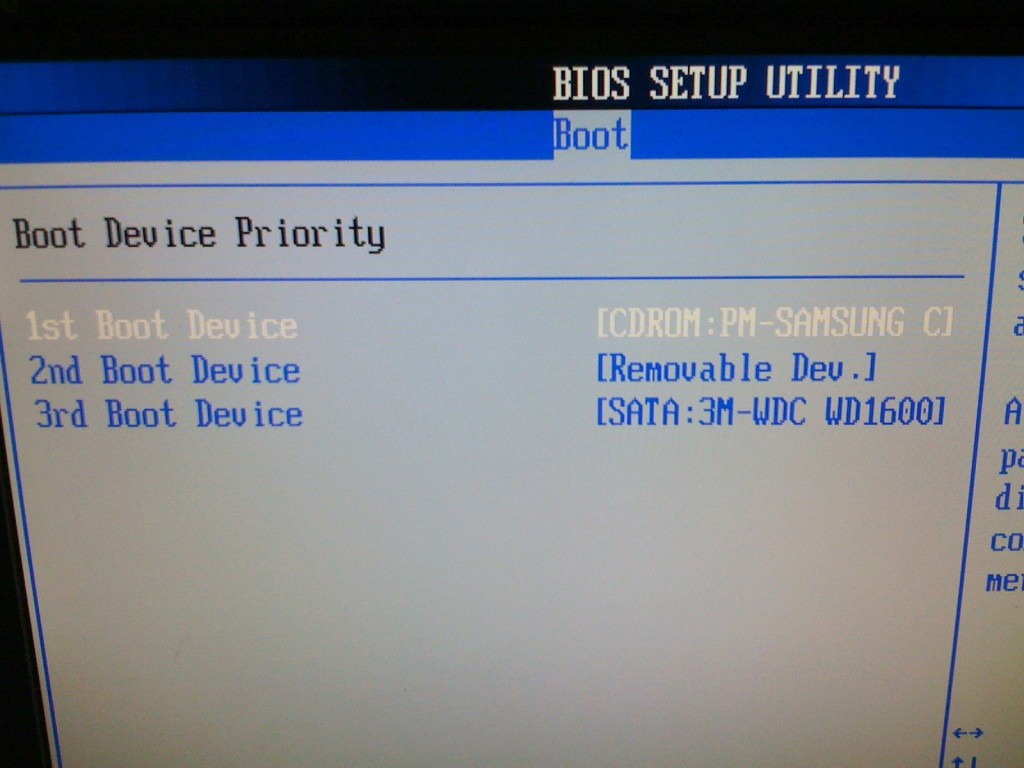
For all of my systems, I perform a battery of tests — the first being a full level-4 SpinRite 6 hard drive scan to ensure that every last bit on the drive is performing as it should. The second is a full memory test using the Windows memory diagnostic tester (comes with Windows Vista (F8), or can be downloaded for free.) When you run the Windows Memory test, make sure that you run the extended tests. Also, go into the BIOS and set the computer to boot from the CD drive first. This makes things like running tests from SpinRite and the Windows disc easier in the future. It just makes more sense for the computer to check the CD drive first before trying to boot from the OS.
Get into the BIOS by hitting usually either F2 or DEL right away. Hit up the forum with any questions or e-mail me if you need any help.
admin@variableghz.com

alrite smartpnats listen u here 2 this question!!!!!!!! how si it that ur comptar runs but ur not usan teh fsb ddr gigahartz!?!?!?!?!?!?!? ya ill let u tihnk abotu taht 1 lol no dont worry ill w8
GIVE UP!?!?!?!
ITS BCUZ UR BIOS IS RUINED BY TEH MOERS CODE!!! iur using moers code?!?!?! WELL HERES A MESSAGE 4 U JACKASS DOT DOT DASH DOT DOT IT MEANS UR A FUKKEN ASSHOEL BCUZ THIS ARTICLE MAED ME WATS $5000 DOLLERS ON NEW PARTZ!!!!
see this si why i ues linux
The person below me is a noob.